audio technica record player manual
Welcome to the Audio-Technica Record Player Manual! This guide provides essential instructions for setting up, operating, and maintaining your turntable to ensure optimal performance and longevity. Discover how to unlock the full potential of your vinyl listening experience with detailed troubleshooting tips and maintenance advice.
1.1 Importance of Reading the Manual
Reading the Audio-Technica record player manual is crucial for proper setup, operation, and maintenance. It ensures you understand safety precautions, optimal performance, and troubleshooting tips. Failing to read the manual may lead to improper operation, damage to components, or reduced sound quality. By following the guidelines, you can avoid common issues and extend the lifespan of your turntable. This manual also provides essential information for enjoying your vinyl collection to the fullest, making it a vital resource for both beginners and experienced users.
1.2 Key Features of Audio-Technica Record Players
Audio-Technica record players are renowned for their high-quality craftsmanship and innovative features. Models like the AT-LP120XUSB and AT-LP60XBT offer advanced functionalities such as USB output for digital conversion and Bluetooth connectivity for wireless streaming. Many turntables feature automatic belt-drive systems, ensuring smooth operation and precise speed control. Additional highlights include adjustable anti-skate and tracking force settings, which enhance sound quality and cartridge longevity. These features cater to both casual listeners and audiophiles, providing a versatile and enjoyable vinyl listening experience.
1.3 Overview of the Manual Structure
This manual is organized into 12 main sections, each covering essential aspects of your Audio-Technica record player. From safety precautions to advanced features, the guide provides step-by-step instructions for setup, operation, and maintenance. Key sections include troubleshooting common issues, understanding playback modes, and optimizing performance through proper care. Additionally, specific model details and warranty information are included to ensure comprehensive support for your turntable. This structured approach ensures easy navigation, helping you make the most of your Audio-Technica record player experience.
Safety Precautions
Handle the cartridge and stylus with care to avoid damage. Avoid bumping the turntable during playback. Maintain a safe distance from the radiator while operating.
2.1 General Safety Guidelines
Always read the manual before using your Audio-Technica record player. Handle the turntable, cartridge, and stylus with care to avoid damage. Avoid bumping the turntable during playback, as this can cause distortion or damage. Keep the unit away from water and moisture to prevent electrical hazards. Ensure proper ventilation to avoid overheating. Do not touch the stylus with your fingers, as oils can damage the cartridge. Maintain a minimum 20 cm distance between the radiator and your body during operation. Follow all safety precautions to ensure safe and enjoyable use of your record player.
2.2 Handling the Turntable and Accessories
Handle the turntable and its components with care to maintain performance and longevity. Avoid touching the stylus or cartridge to prevent damage from oils or dirt. Always lift the turntable by its edges, never by the tonearm or platter. Use the provided felt mat to protect records and ensure proper coupling. Store accessories in a dry, cool place to prevent warping or degradation. Ground yourself before handling sensitive parts to avoid static damage. Clean the platter and accessories regularly with a soft, dry cloth to remove dust and debris.
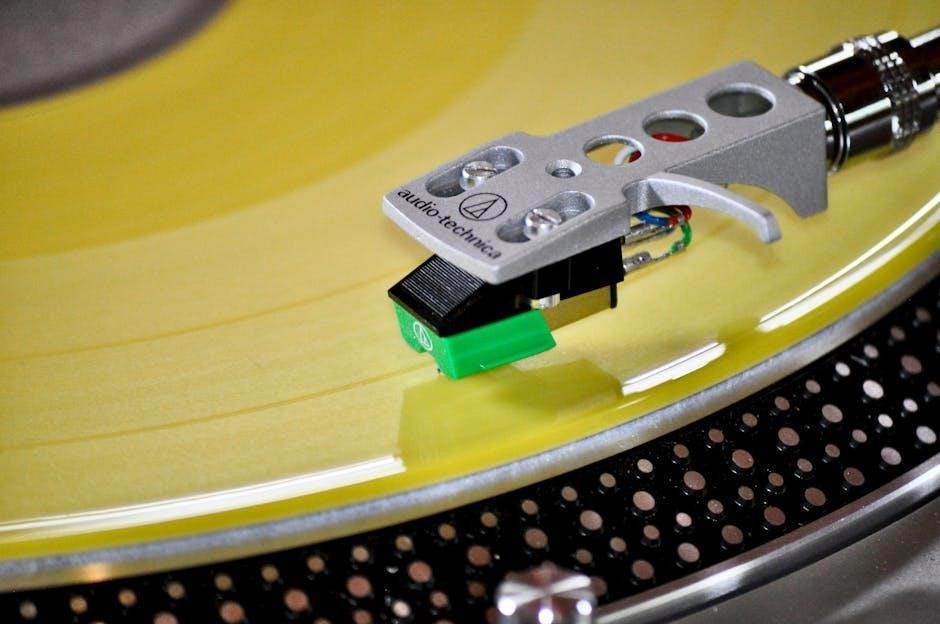
2.3 Avoiding Damage to the Stylus and Cartridge
To protect the stylus and cartridge, avoid touching the stylus tip with your fingers, as oils from your skin can cause damage. Never bump the cartridge against the platter or record edge. Use the tonearm lift button to gently lower and raise the stylus. Store the cartridge in its protective case when not in use. Clean the stylus periodically with a soft, dry brush to remove dust. Avoid exposing the cartridge to extreme temperatures or humidity. Proper care ensures optimal sound quality and extends the lifespan of your turntable’s components.
Unpacking and Inventory
Carefully unpack the turntable and verify all components are included. Check for the turntable body, platter, felt mat, RCA cables, tonearm counterweight, and user manual. Inspect for any damage or missing items before proceeding.
3.1 Items Included in the Box
Your Audio-Technica record player box includes the turntable body, platter with a drive belt, felt mat, tonearm, cartridge, RCA audio cables, power cord, and a user manual. Additionally, check for a dust cover, counterweight, and balance weight. Some models may include a USB cable for digital conversion. Ensure all items are present and undamaged. If any components are missing or damaged, contact your local Audio-Technica dealer for assistance. Properly inspecting and accounting for all parts ensures a smooth setup experience.
3.2 Checking for Damaged or Missing Items
After unpacking, carefully inspect all components for damage. Verify the inclusion of the turntable body, platter, felt mat, tonearm, cartridge, RCA audio cables, power cord, and user manual. Check for any visible damage or defects. Compare the items with the list in the manual to ensure nothing is missing. If any components are damaged or missing, contact Audio-Technica support or your local dealer immediately for assistance. This step ensures your turntable is ready for proper setup and operation.
3.3 Accessories and Optional Equipment
Beyond the included items, consider essential accessories like RCA audio cables, a power cord, and a phono preamp for optimal sound quality. Optional equipment, such as a USB output cable for digital conversion, can enhance functionality. Additional items like a record cleaning brush, anti-static sleeve, or external speakers may also be beneficial. Check compatibility with your turntable model to ensure seamless integration. These accessories can elevate your listening experience and protect your investment. Explore these options to maximize your Audio-Technica record player’s performance and versatility.
Setting Up the Turntable
Place the turntable on a stable surface, ensuring minimal vibration. Attach the platter and drive belt securely. Install the tonearm and cartridge carefully, following the manual’s instructions. Connect RCA audio cables to your amplifier or sound system. Ensure all components are properly aligned and tightened for smooth operation. Proper setup is crucial for optimal performance and sound quality.
4.1 Placing the Turntable on a Stable Surface
Position the turntable on a sturdy, flat surface to ensure proper operation. Avoid placing it on glass or uneven tables, as this can cause vibration and affect sound quality. Use a surface that minimizes resonance, such as a dedicated turntable stand or a dense wooden table. Ensure the turntable is level to maintain balance and prevent the platter from wobbling. If necessary, use isolation pads or a turntable mat to dampen external vibrations. Avoid placing the turntable near speakers to reduce feedback risks. A stable setup guarantees optimal performance and clear audio playback.
4.2 Attaching the Platter and Drive Belt
First, remove the protective cover from the platter. Align the platter with the spindle on the turntable and gently secure it into place. Next, locate the drive belt and loop it around the motor pulley and the platter’s underside. Ensure the belt is properly seated and not twisted. For models with multiple speeds, check that the belt is on the correct pulley setting. Finally, test the rotation by turning the platter manually to confirm smooth movement. Proper installation ensures consistent playback speed and prevents motor strain or vibration issues during operation.
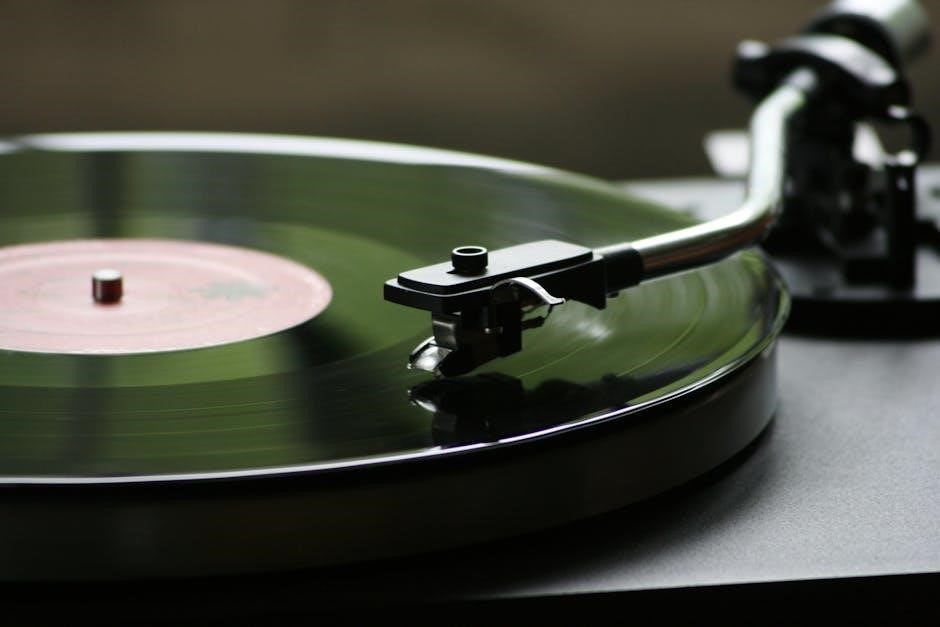
4.3 Installing the Tonearm and Cartridge
First, carefully remove any protective covering from the tonearm and cartridge. Gently attach the cartridge to the tonearm, ensuring it is securely locked into place. Connect the RCA audio cables to the corresponding ports on the turntable and your amplifier. Handle the stylus with care, avoiding direct contact with your fingers. Once installed, test the setup by playing a record to ensure proper tracking and sound quality. If issues arise, refer to the manual or contact Audio-Technica support for assistance. Proper installation ensures optimal audio performance and prevents damage to the stylus or cartridge.
4.4 Connecting RCA Audio Cables
To connect the RCA audio cables, locate the RCA output terminals on the turntable. Match the red and white connectors to the corresponding RCA input jacks on your amplifier or receiver. Ensure the connections are secure and not forced, as this could damage the ports. Connect the red terminal to the right-channel input and the white terminal to the left-channel input. Once connected, test the audio playback to confirm proper sound output. If using a phono amplifier, select the PHONO input; otherwise, use the LINE input. Proper connection ensures clear and balanced audio playback.
Operating the Turntable
Mastering the basics of operating your Audio-Technica turntable ensures a seamless vinyl listening experience. Learn how to prepare records, lower the tonearm, and adjust settings for optimal playback.
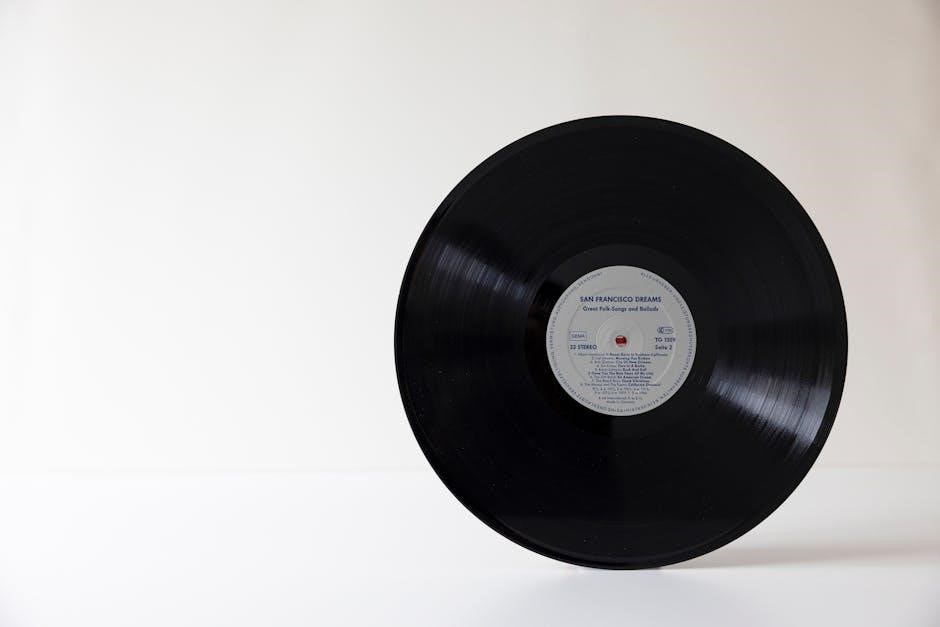
5.1 Preparing to Play a Record
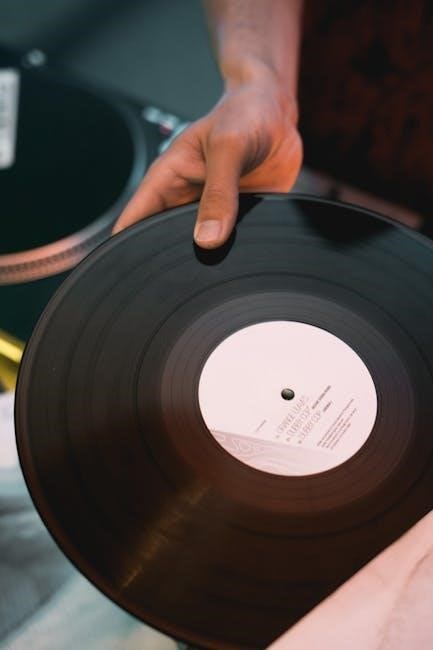
To ensure a smooth playback experience, start by gently removing the record from its sleeve, handling it by the edges to avoid fingerprints. Place the record on the turntable’s platter, securing it with the provided mat to prevent slipping. Check that the turntable is set to the correct speed for your record type (33, 45, or 78 RPM). Make sure the tonearm is rested in its cradle and the volume on your amplifier is turned down. Finally, verify that the stylus is clean and free of debris before starting playback;
5.2 Lowering the Tonearm and Starting Playback
Once your record is properly placed on the platter, press the tonearm lift button to gently lower the arm onto the record’s edge. Ensure the stylus aligns correctly with the groove to avoid damage. With the tonearm in position, turn on the turntable and adjust the volume on your connected amplifier. Avoid bumping the turntable during playback to maintain sound quality. For manual models, you may need to lift the arm and place it at the desired track. Always handle the tonearm with care to protect the stylus and cartridge.
5.3 Adjusting the Volume and Equalization
After starting playback, adjust the volume using your amplifier or connected audio equipment. Ensure the RCA audio cables are securely connected to the correct input (PHONO or LINE). For optimal sound quality, set the amplifier’s volume to a suitable level without distortion. Use the equalization settings on your amplifier or preamp to tailor the audio response for different record types. Avoid making adjustments during playback to prevent potential damage or distortion. Proper setup ensures a balanced and enjoyable listening experience with your Audio-Technica record player.
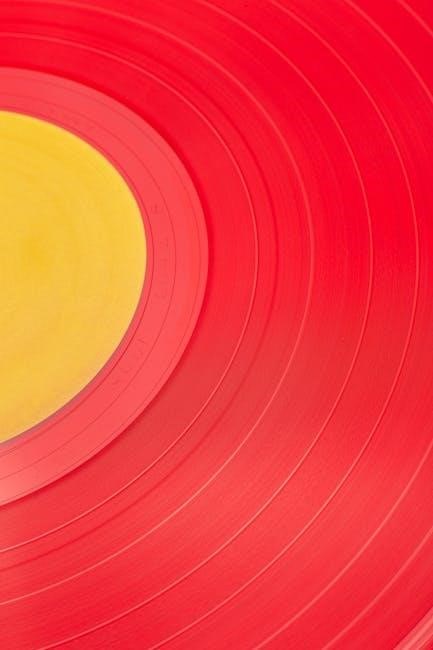
5.4 Switching Between Record Sizes
To switch between record sizes, ensure the record is not playing. Carefully lift the tonearm using the tonearm lift button and gently move it to the side. Replace the record with the desired size, ensuring it is properly centered on the platter. Always handle records by the edges to avoid damage. Once the new record is in place, lower the tonearm and adjust the playback speed if necessary. Proper handling ensures smooth transitions and protects both the records and the turntable from potential damage.
Playback Modes and Speeds
Explore various playback modes and speeds to enhance your vinyl experience. Adjust settings for different record sizes and types, ensuring optimal sound quality and seamless transitions between tracks.
6.1 Selecting the Correct Speed for Record Types
Selecting the correct speed is crucial for optimal playback. Most records play at 33 1/3 RPM for LPs and 45 RPM for singles. Some older records, like 78 RPM, may require adjustment. Ensure the turntable is set to match the record type to avoid distortion or damage. Use the speed selector knob to switch between settings. Always verify the record’s recommended speed before playback to ensure the best sound quality and longevity of your vinyl collection.
6.2 Understanding Manual vs. Automatic Operation
Audio-Technica turntables offer both manual and automatic operation modes. In manual mode, you must lift and lower the tonearm yourself, giving you full control over playback. Automatic mode starts and stops the record with the push of a button, offering convenience. For manual operation, press the tonearm lift button to raise it, then gently place it on the record. Always ensure the volume is low before starting. Consult your specific model’s manual for exact steps, as features may vary. Proper operation ensures optimal sound quality and record longevity.
6.3 Using the Tonearm Lift Button
The tonearm lift button allows you to manually lower the tonearm onto the record, ensuring precise placement. Gently press the button to raise the tonearm before moving it over the record. Once positioned, release the button to lower it gently onto the vinyl. Avoid touching the stylus with your fingers to prevent damage. Always handle the tonearm with care to maintain optimal sound quality and protect your records. Refer to your specific model’s manual for detailed instructions on tonearm operation and maintenance.
Troubleshooting Common Issues
Address common problems like no sound, distorted audio, or a non-spinning turntable by checking connections, inspecting the drive belt, and ensuring the stylus is clean and undamaged.
7.1 No Sound or Distorted Audio
If your turntable produces no sound or distorted audio, first check the RCA connections to ensure they are securely plugged into the correct inputs. Verify the ground wire is properly connected to prevent hum. Ensure the phono/line switch is set correctly for your amplifier. Clean the stylus and inspect for damage. Check the drive belt for proper alignment and condition. If issues persist, consult the manual or contact Audio-Technica support for further assistance.
7.2 Turntable Not Spinning
If the turntable fails to spin, first ensure the power is turned on and the speed selector is set correctly. Check the drive belt for proper alignment and condition—replace it if damaged. Verify the platter is securely attached and free from obstructions. Ensure the motor is functioning by checking for unusual noise or vibration. If the issue persists, inspect the power cord and connections. Consult the manual or contact Audio-Technica support for further diagnosis or repair options to resolve the spinning issue effectively.
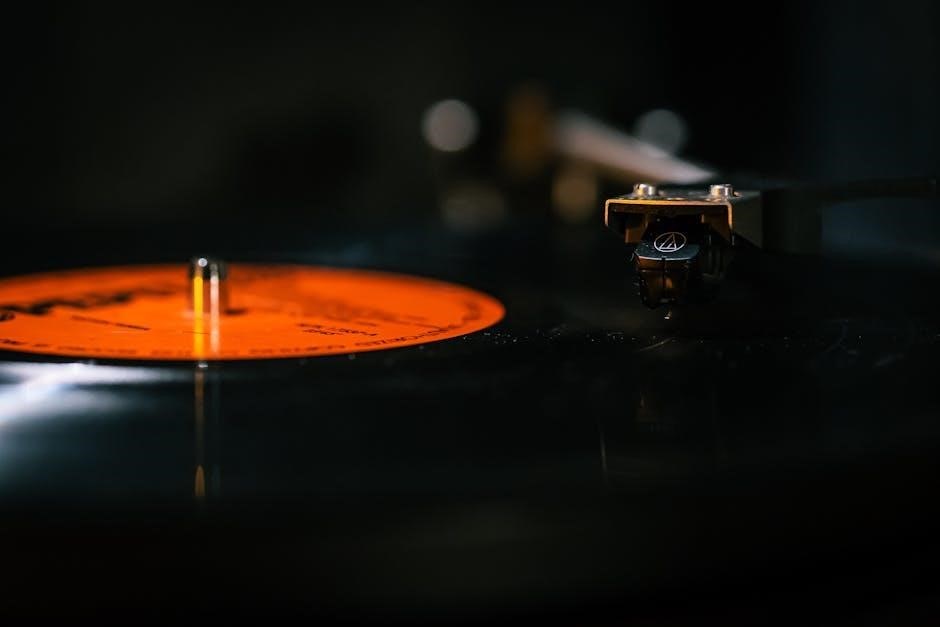
7.3 Cartridge Stylus Problems
If the stylus is damaged or misaligned, it can cause poor sound quality or scratching of records. Always handle the stylus gently to avoid damage. Ensure the cartridge is properly secured and aligned. If the stylus appears worn or damaged, replace it with a genuine Audio-Technica replacement. Avoid touching the stylus tip, as oils from your skin can attract dust. For persistent issues, refer to the manual or contact Audio-Technica support for guidance on adjustment or replacement procedures to maintain optimal playback performance and protect your records.

Maintenance and Upkeep
Regular maintenance ensures your Audio-Technica record player performs optimally. Clean the turntable, lubricate moving parts, and replace the drive belt as needed to preserve longevity and sound quality.
8.1 Cleaning the Turntable and Platter
8.1 Cleaning the Turnturntable and Platter
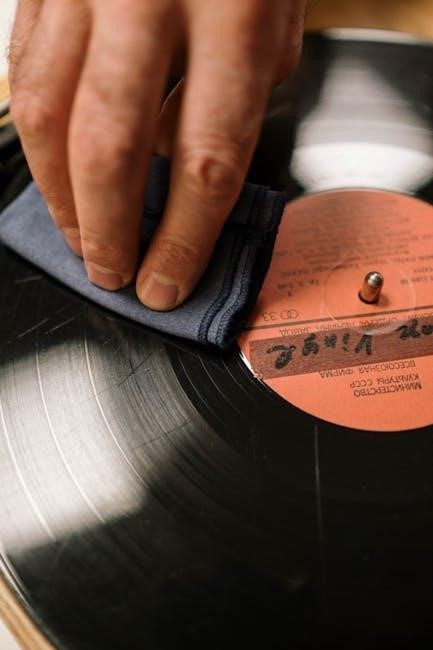
Regular cleaning of the turntable and platter is essential for optimal performance. Use a soft, dry cloth to wipe the platter and remove dust or debris. For tougher stains, lightly dampen the cloth with distilled water, but avoid harsh chemicals or abrasive materials. Never touch the stylus with your fingers, as oils from your skin can damage the cartridge. Cleaning ensures smooth rotation and prevents dust from affecting sound quality. For best results, clean after each use and store the turntable in a dust-free environment.
8.2 Lubricating Moving Parts
Regular lubrication of moving parts ensures smooth operation and extends the lifespan of your turntable. Apply a few drops of high-quality, lightweight oil to the main bearing and tonearm pivot. Avoid over-lubrication, as excess oil can attract dust. Use a clean, dry cloth to gently wipe away any excess. Lubricate every 6-12 months or when you notice increased friction. Proper lubrication maintains optimal performance, reduces wear, and ensures precise movement of the tonearm and platter.
8.3 Replacing the Drive Belt
Replacing the drive belt is essential for maintaining optimal performance. If the belt becomes cracked, brittle, or slips, it should be replaced immediately. To install a new belt, turn the platter over and carefully remove the old belt. Stretch the new belt over the pulley, ensuring it is properly seated. Use only genuine Audio-Technica belts to guarantee compatibility and performance. Replace the belt every 2-3 years or when visible wear is noticed. Proper belt replacement ensures consistent speed and accurate playback of your records.
Advanced Features
Explore advanced features like USB output for digital conversion, external audio equipment connectivity, and precise adjustments for anti-skate and tracking force to enhance your listening experience. Discover how these tools refine sound quality and customization for audiophiles seeking superior control and versatility in their vinyl setup.
9.1 Using the USB Output for Digital Conversion
The USB output on your Audio-Technica turntable allows you to easily convert your vinyl records to digital files. Connect the turntable to your computer using the provided USB cable and install the bundled software. This feature is ideal for preserving your vinyl collection in a digital format. Ensure the turntable is stable during the conversion process to avoid distortion. Refer to your model’s specific instructions for detailed steps on recording and saving your files in preferred formats like WAV or MP3.
9.2 Connecting to External Audio Equipment
Connect your Audio-Technica turntable to external audio equipment using RCA audio cables. Ensure the cables are securely attached to the turntable’s RCA output terminals and the corresponding input on your amplifier or receiver. For optimal sound quality, use high-quality RCA cables made from conductive materials like copper or silver. If your amplifier has a PHONO input, use it for direct connection. If not, switch to LINE input. Refer to your model’s manual for specific instructions. Proper connections ensure a clear and immersive listening experience. Ground the turntable if needed to prevent hum.
9.3 Adjusting Anti-Skate and Tracking Force
Properly adjusting the anti-skate and tracking force ensures optimal playback and protects your records. Use the supplied setup tool or a tracking force gauge to measure and adjust the tonearm balance. Set the anti-skate control to match the tracking force. Start with the recommended force (usually 1.5-2.5g) and fine-tune for clear playback. Incorrect settings can cause distortion or stylus wear. Refer to your model’s manual for specific instructions. Adjusting these settings correctly ensures smooth, distortion-free audio and prolongs stylus life.

Specific Models
Welcome to the Specific Models section. This chapter covers the unique features and setup instructions for the AT-LP120XUSB, AT-LP60XBT, and AT-LP5X models. Each model offers distinct functionalities and requirements for optimal performance.
10.1 AT-LP120XUSB Model Features
The AT-LP120XUSB is a high-performance turntable designed for both beginners and audiophiles. It features a direct-drive motor, three-speed operation (33⅓, 45, and 78 RPM), and a built-in USB port for digital recording. The turntable includes a die-cast aluminum platter, felt mat, and a stereo phono cartridge. It supports both PC and Mac connections and comes with Audio-Technica’s Audacity software for easy digital conversion of vinyl records. This model is known for its durability and precise sound reproduction, making it a popular choice among vinyl enthusiasts.
10.2 AT-LP60XBT Model Features
The AT-LP60XBT is a fully automatic belt-drive turntable designed for seamless vinyl playback. It features a die-cast aluminum platter, integral Dual-Layer Platter for reduced resonance, and a Dual Magnet phono cartridge. The turntable supports 33 1/3 and 45 RPM speeds and includes Bluetooth connectivity for wireless streaming to compatible devices. It also has a built-in phono preamp, allowing direct connection to amplifiers or stereos. The AT-LP60XBT comes with a removable RCA audio cable and stereo RCA output, making it a versatile and affordable option for high-quality sound reproduction.
10.3 AT-LP5X Model Features
The AT-LP5X is a manual turntable designed for audiophiles, featuring a direct-drive system and a high-quality AT-HS6 headshell. It includes the Audio-Technica Exclusively Designed Phono Cartridge for precise sound reproduction. The turntable boasts a J-shaped aluminum tonearm and a dense MDF plinth to minimize resonance. It offers RCA output terminals and a detachable RCA audio cable for connectivity. The AT-LP5X also includes a USB output for digitizing vinyl records. Its robust design ensures high-fidelity audio and reliable performance for home setups.
Warranty and Support
Your Audio-Technica record player is backed by a comprehensive warranty. For inquiries or repairs, contact Audio-Technica Support or visit an authorized service center for assistance.
11.1 Understanding the Warranty Terms
Your Audio-Technica turntable comes with a limited warranty covering manufacturing defects for a specified period. Terms typically include repair or replacement of faulty parts, excluding damage from misuse or normal wear. Check your manual for exact duration and conditions. Register your product for streamlined support and ensure all claims are submitted through authorized channels to maintain coverage. Warranty details vary by region, so review local policies for precise information.
11.2 Contacting Audio-Technica Support
For assistance with your Audio-Technica record player, contact their support team via email, phone, or through the official website. Visit the Audio-Technica website for regional contact details and support options. When reaching out, have your product model number and purchase details ready for efficient service. The Audio Solutions Department is also available to address technical inquiries and warranty-related issues. Ensure to use authorized service centers for repairs to maintain your product’s warranty coverage.
11.3 Finding Authorized Service Centers
To locate an authorized Audio-Technica service center, visit the official Audio-Technica website and use the “Where to Buy” tool. Enter your location to find nearby authorized dealers or service providers. For international users, the website provides regional contact information. Always ensure repairs are performed by authorized centers to maintain warranty coverage. Contact Audio-Technica support directly if assistance is needed in locating a service center. Keep your product model number and purchase details handy for verification purposes.
Additional Resources
Download the full PDF manual, explore online communities, and watch video tutorials for comprehensive support, troubleshooting guides, and tips on optimizing your record player experience.
12.1 Downloading the Full PDF Manual
Access the complete PDF manual for your Audio-Technica record player through the official website or authorized retailers. This document covers setup, operation, and troubleshooting in detail. Ensure you download the correct model-specific manual, such as the AT-LP120XUSB or AT-LP60XBT, to get accurate instructions tailored to your device. Save the PDF for easy reference and future updates, guaranteeing you always have the latest information at your fingertips for optimal performance and maintenance.
12.2 Online Communities and Forums
Engage with online forums and communities dedicated to Audio-Technica record players for shared experiences, troubleshooting, and expert advice. Websites like forums.audiotechnica.com and audiophile communities offer valuable insights, user reviews, and tips for optimizing your turntable setup. Discuss model-specific features, such as the AT-LP120XUSB or AT-LP60XBT, and learn from enthusiasts who share their knowledge and solutions for common issues. These platforms foster collaboration and provide a wealth of resources to enhance your vinyl listening experience.
12.3 Video Tutorials and Guides
Enhance your understanding of Audio-Technica record players with official video tutorials and guides available on the Audio-Technica website and platforms like YouTube. These resources provide step-by-step instructions for setup, maintenance, and troubleshooting specific models like the AT-LP120XUSB and AT-LP60XBT. Watch demonstrations on how to replace the stylus, adjust tracking force, and connect external audio equipment. These visual guides are perfect for both beginners and experienced users, offering clear, actionable advice to optimize your vinyl listening experience.